Merhabalar, bu makelemizde sizlere Exchange Server 2016 kurulumunu anlatacağım , kurulum exchange server 2013 ‘un aynısıdır. Kurulum ile ilgili aşağıdaki linkten ayrıntılı bir şekilde bilgi alabilirsiniz.
https://technet.microsoft.com/en-us/library/mt170645(v=exchg.160).aspx
Exchange Server 2016 kurulum doysalarını aşağıdaki linkten ulaşabilirsiniz.
https://www.microsoft.com/en-us/download/details.aspx?id=48210
Exchange Server 2016 kuruluma geçmeden önce;
-
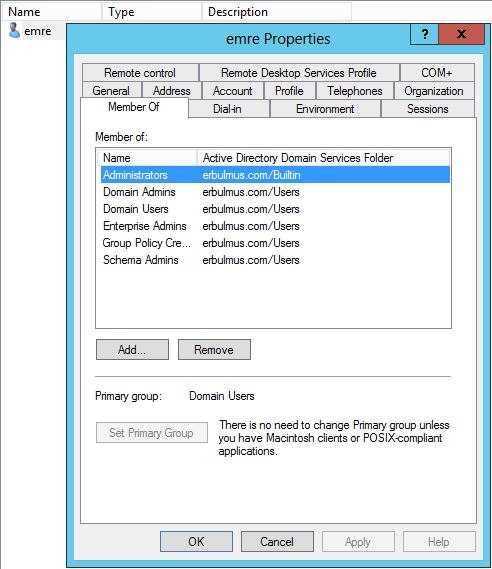
Enterprise Admins, Domain Admins ve Schema Admins gruplarına üye bir kullanıcı açılması gerekir.
-
.NET Framework 4 kurulu olması gerekmektedir.
-
Sunucu işletim sisteminin güncelleştirilmesi yapılması gerekir.
Bizim ortamımızda 2 sunucu kullanıyor olacağız.İki server makinamıza .Net kurulumunu gerçekleştiriyoruz. Daha sonra tüm yetkilere sahip bir kullanıcı oluşturuyoruz.
Exchange Server 2016 makinamıza,
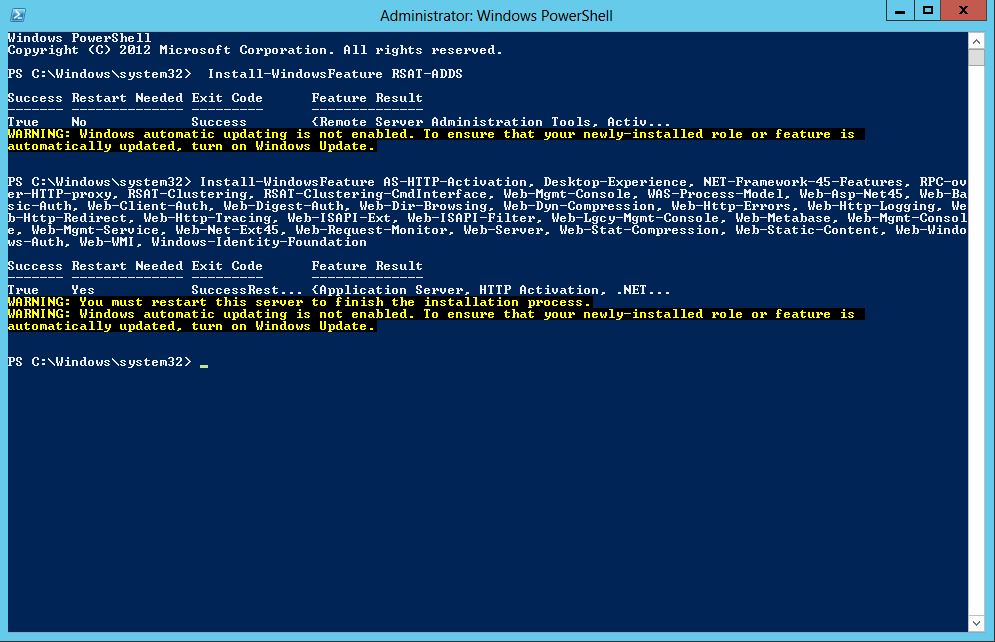
.NET kurulumu yaptıktan sonra Powershell’e aşağıdaki komutu yazarak “Remote Tools” un kurulumunu yapınız.
> Install-WindowsFeature RSAT-ADDS
Aşağıdaki komut ile sunucumuza gerekli rol ve özellikleri kurunuz.
> Install-WindowsFeature AS-HTTP-Activation, Desktop-Experience, NET-Framework-45-Features, RPC-over-HTTP-proxy, RSAT-Clustering, RSAT-Clustering-CmdInterface, Web-Mgmt-Console, WAS-Process-Model, Web-Asp-Net45, Web-Basic-Auth, Web-Client-Auth, Web-Digest-Auth, Web-Dir-Browsing, Web-Dyn-Compression, Web-Http-Errors, Web-Http-Logging, Web-Http-Redirect, Web-Http-Tracing, Web-ISAPI-Ext, Web-ISAPI-Filter, Web-Lgcy-Mgmt-Console, Web-Metabase, Web-Mgmt-Console, Web-Mgmt-Service, Web-Net-Ext45, Web-Request-Monitor, Web-Server, Web-Stat-Compression, Web-Static-Content, Web-Windows-Auth, Web-WMI, Windows-Identity-Foundation
Kurulum tamamlandıktan sonra sunucuyu yeniden başlatıyoruz. Aşağıdaki programları kuruyoruz.
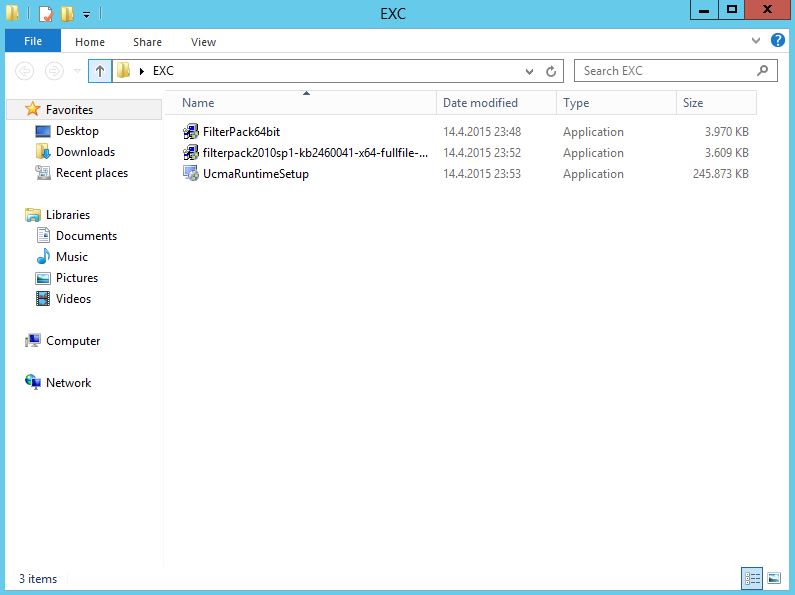
* Microsoft Uniefed Communucation Api 4.0
* Filter Pack
* Filter Pack Sp1
Microsoft Uniefed Communucation Api 4.0 kurulumu ,

Run as administrator tıklıyoruz.

“Next” diyoruz.

Lisans sözleşmesini kabul ediyoruz ve “Next” diyoruz.
Finish ‘e tıklıyoruz.
—
Filter Pack Sp1 kurulumu,

Yönetici olarak çalıştırıyorum.
Lisans sözleşmesini kabul ediyoruz ve “Next” diyoruz.
Kurulum tamamlandı.
—
FilterPack kurulumu,

FilterPack ‘i yönetici olarak kuruyoruz.
“Next” diyoruz.

Lisans sözleşmesini kabul ediyoruz ve “Next” diyoruz.
Kurulum tamamlandı. “OK” butonuna tıklyıoruz.

Dc makinamiza ise Exchange Server 2016 iso’sunu takılıyoruz ve aşağıdaki komutları çalıştırıyoruz.

>setup /PrepareSchema /IAcceptExchangeServerLicenseTerms
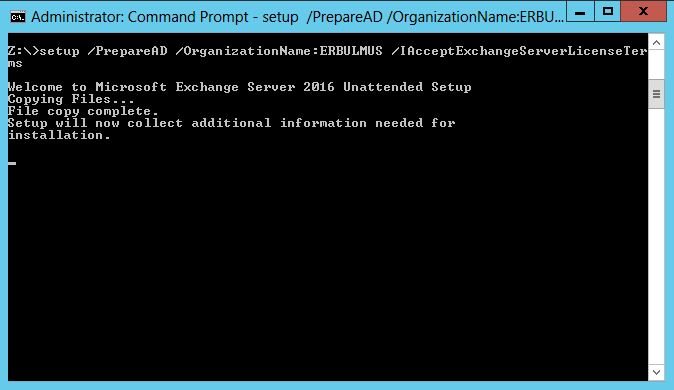
>setup /PrepareAD /OrganizationName:ERBULMUS /IAcceptExchangeServerLicenseTerms
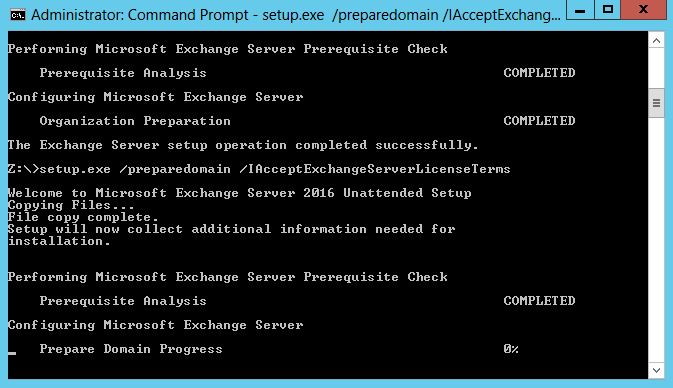
>setup.exe /preparedomain /IAcceptExchangeServerLicenseTerms
Exchange Server 2016 makinamiza geçerek kuruluma başlayabiliriz. “Exchange Server 2016 kurulum .exe’sini çalıştırıyoruz.”
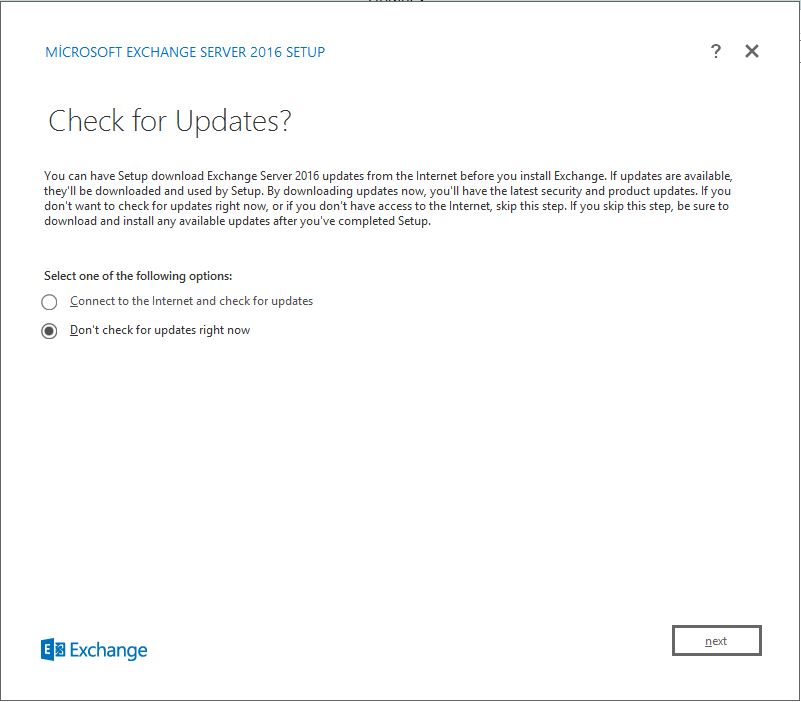
Karşımıza Update’leri kontrol edilsin mi yada edilmeden mi kuruluma geçilsin diye iki seçenek var ortamınızda internet var ise update’leri beklemenizi öneririm.Ben sanal ortamda olduğum için“Don’t check for update right now” diyerek devam ediyorum.”Next” diyorum.

Exchange 2016 ilgili ön bilgileri önce bilgi sunuyor. “Plan your Exchange Server 2016 deployment” üzerinde”Next“diyorum.
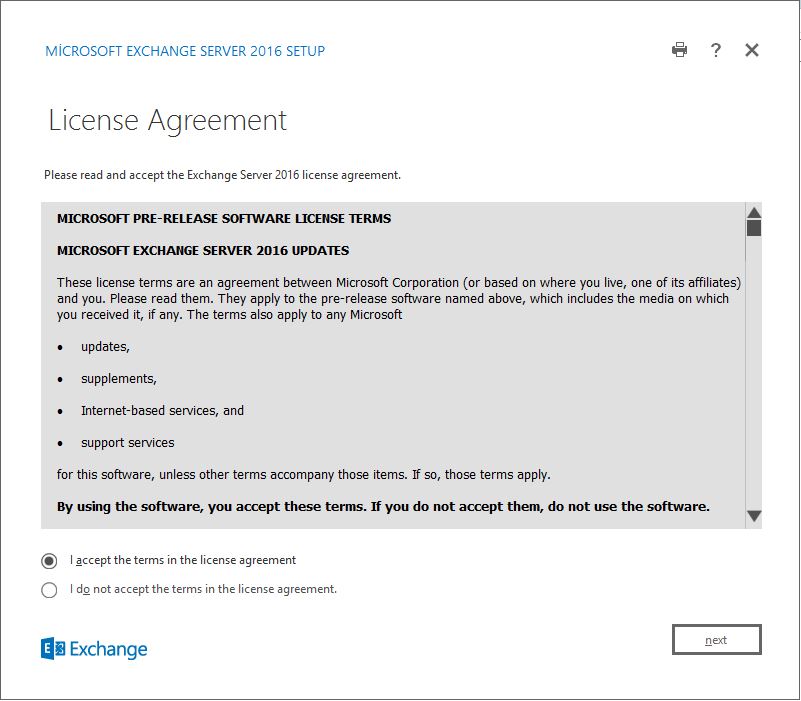
Lisans Anlaşmasını onaylayalım. “Next” diyorum.
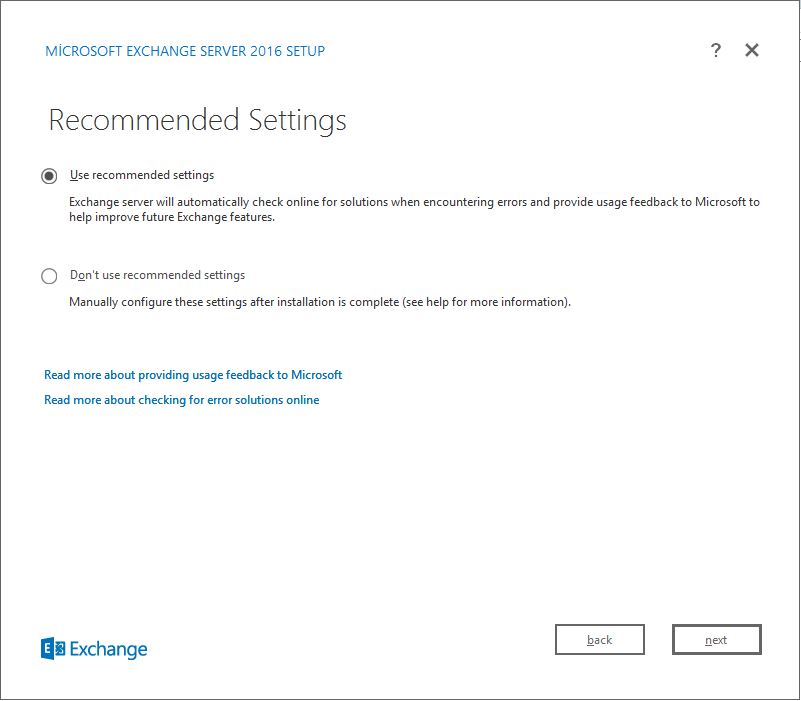
Recommended Settings ekranında “Use recommended settings‘i” işaretliyoruz ve sonraki adıma geçmek için “Next” diyerek devam ediyoruz.

Server Roles ekranı bu ekranda kurulacak olan Exchange Server 2016 rollerini seçmemiz gerekiyor.

Exchange Server 2016 kurulumu için gerekli olan disk alanını ve kurulacak olan dizin yolunu görmekteyiz. Ben default gelen ayarlarda herhangi bir değişiklik yapmadan NEXT devam ediyorum.
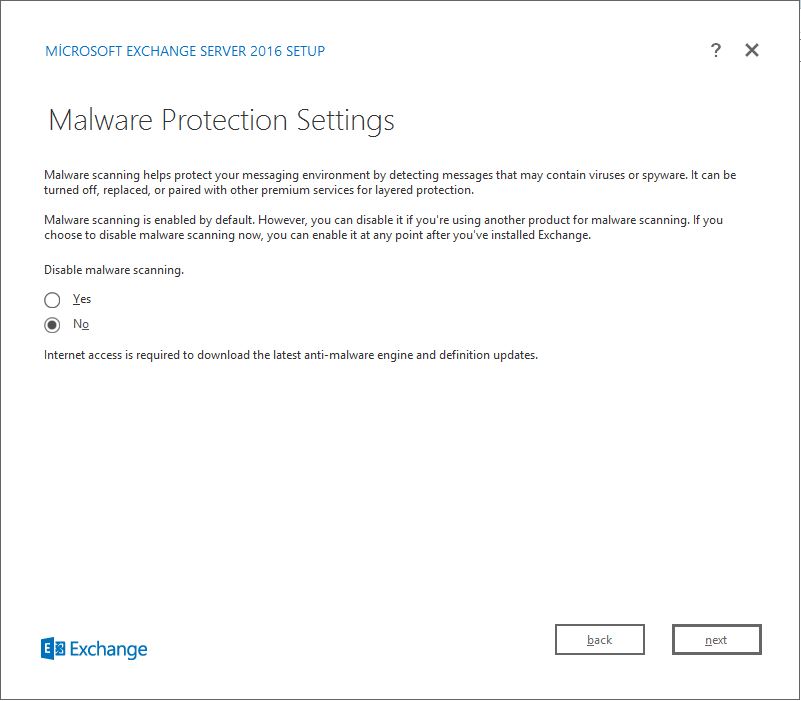
Virus kontollerini kontrol yapmak istiyormusun diye soruyor.Malware protection özelliğini Disable bir şekilde bırakıyorum ve”Next” diyorum.
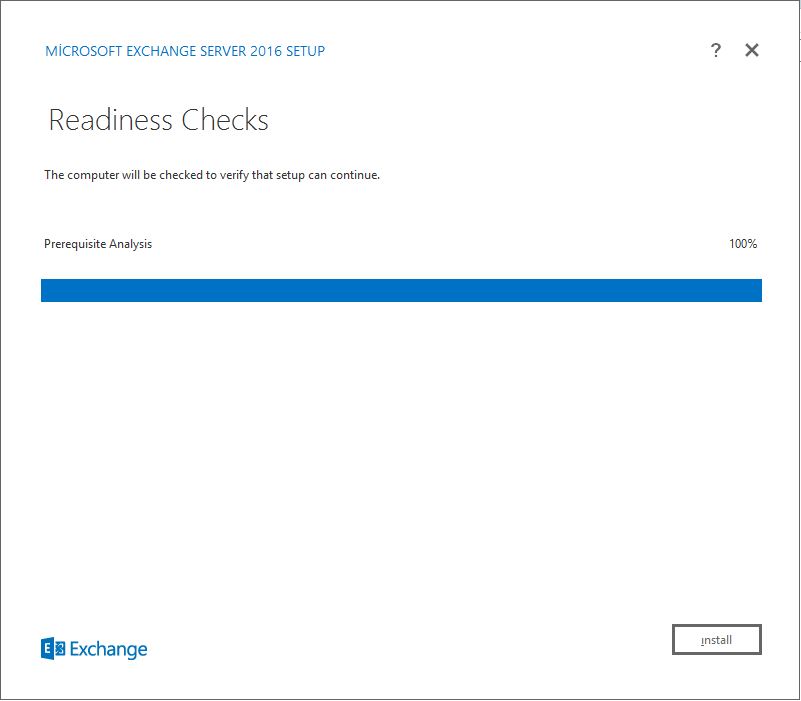
Exchange Server 2016 kuruluma hazır olup olmadığını kontrol ediyor. “Install” diyerek,Exchange Server 2016 kurulumu başlatabiliriz.
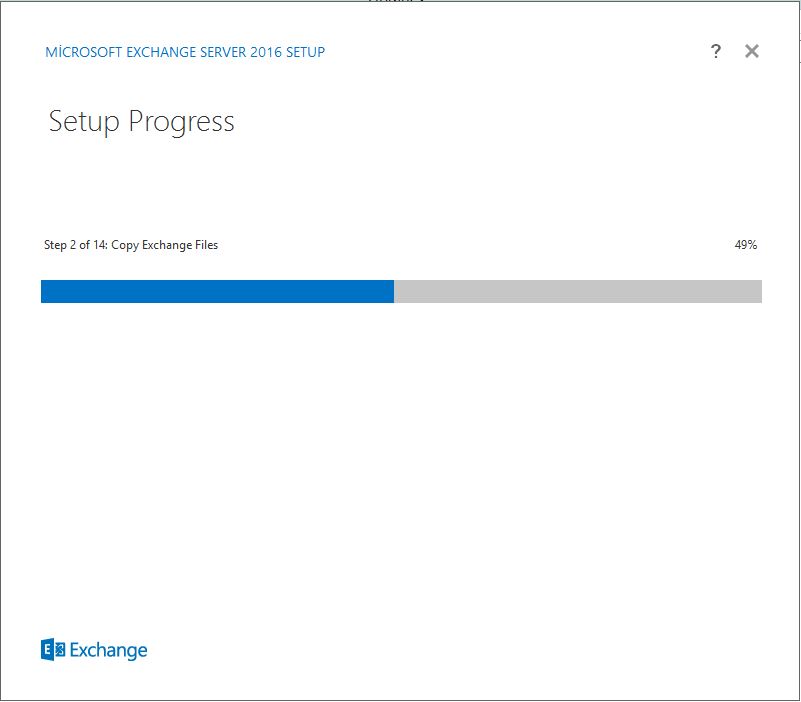
Kurulum işlemi tamamlanıyor.
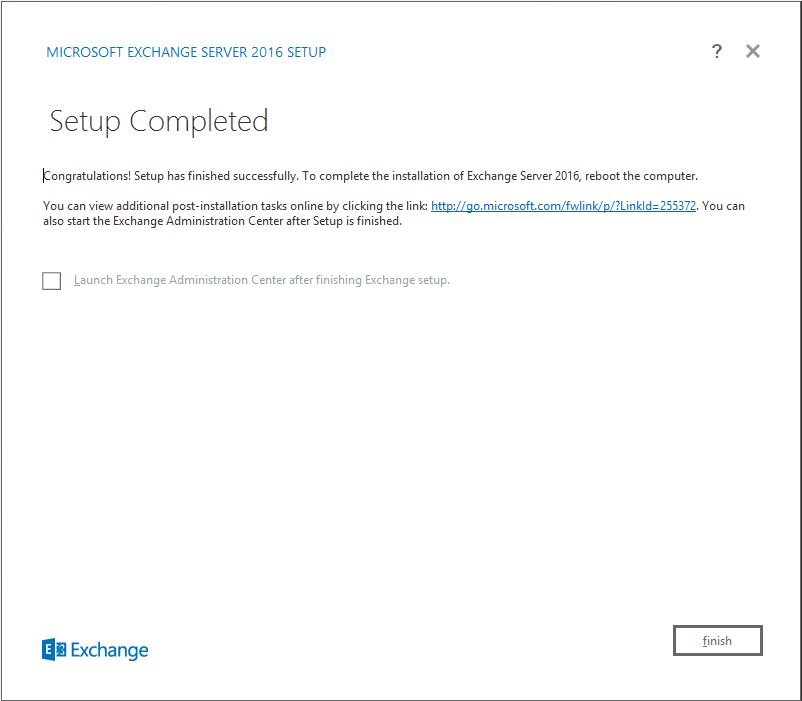
Kurulum işlemi bittikten sonra Restart etmemiz gerekiyor. “Finish” diyoruz.
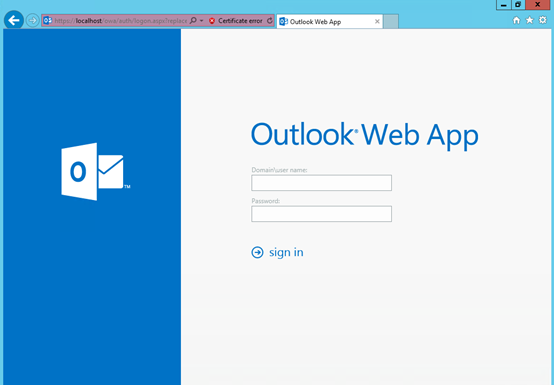
Karşımıza gelen ECP ekranına Domain\user name ve Password yazarak “giriş” sağlıyoruz.
Umarım Faydalı olur, Teşekkürler.